A few days ago, I was scrolling through my Instagram feed and I saw this beautiful photo.
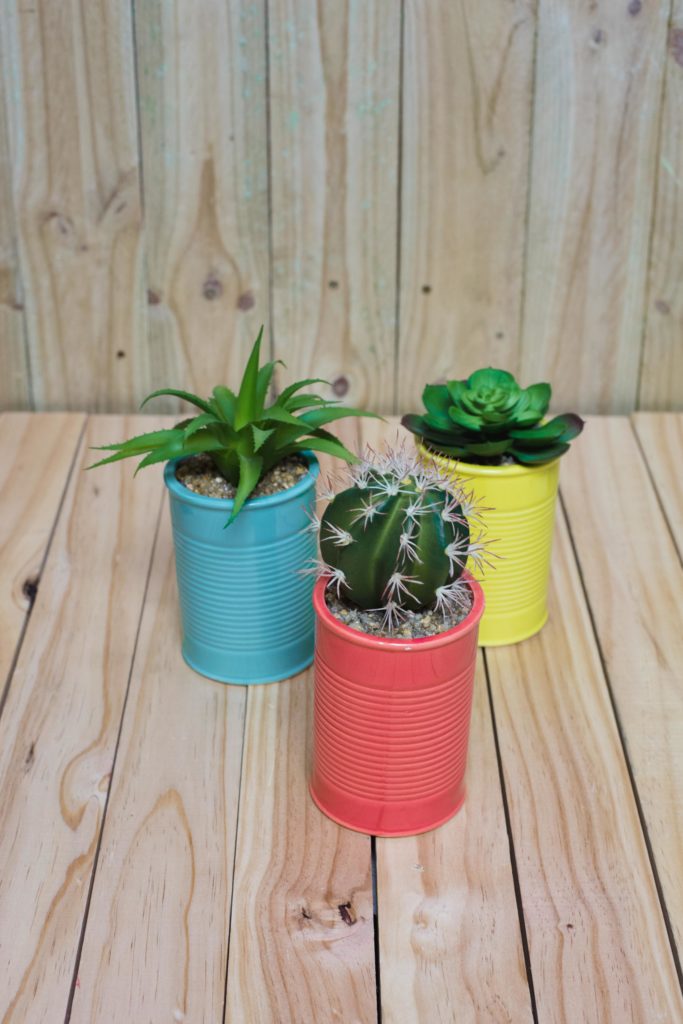
A wooden backdrop, a sliced lemon cake, coffee and some props beautifully styled.
-"I want to take such amazing photos too" I said to myself. Problem was that I didn't have the most beautiful piece. The wooden backdrop.
Because I live in a place where tools are definitely not missing, I decided to make one myself and because it came out much better than I was hoping, I will teach you how to make one yourself!
What you need:
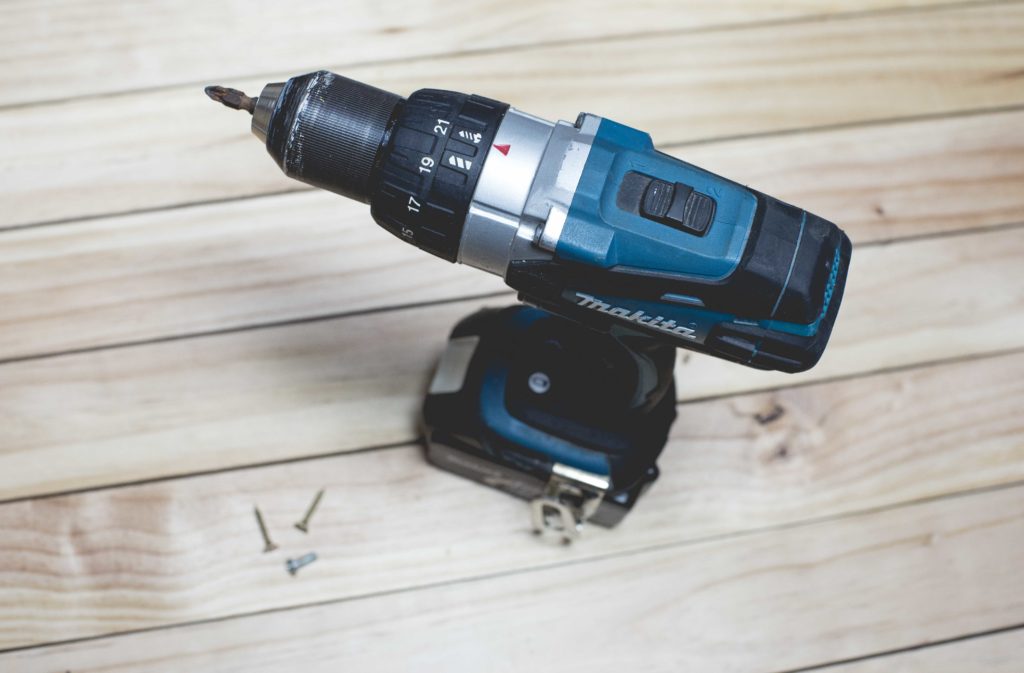
- Screw driver and screws or liquid nail (I suggest using liquid nails if you are making a small backdrop)
- Nice looking timber pieces (around 8-10, they must be the same size)
- Another 2 timber pieces to hold the backdrop together
- Circular saw (Not needed if your pieces are pre-cut)
How to create your backdrop
I have started my first smaller backdrop with 8 pieces of light colored timber, sized 7x90cm. In this first case I have used liquid nail and it worked out perfectly fine.
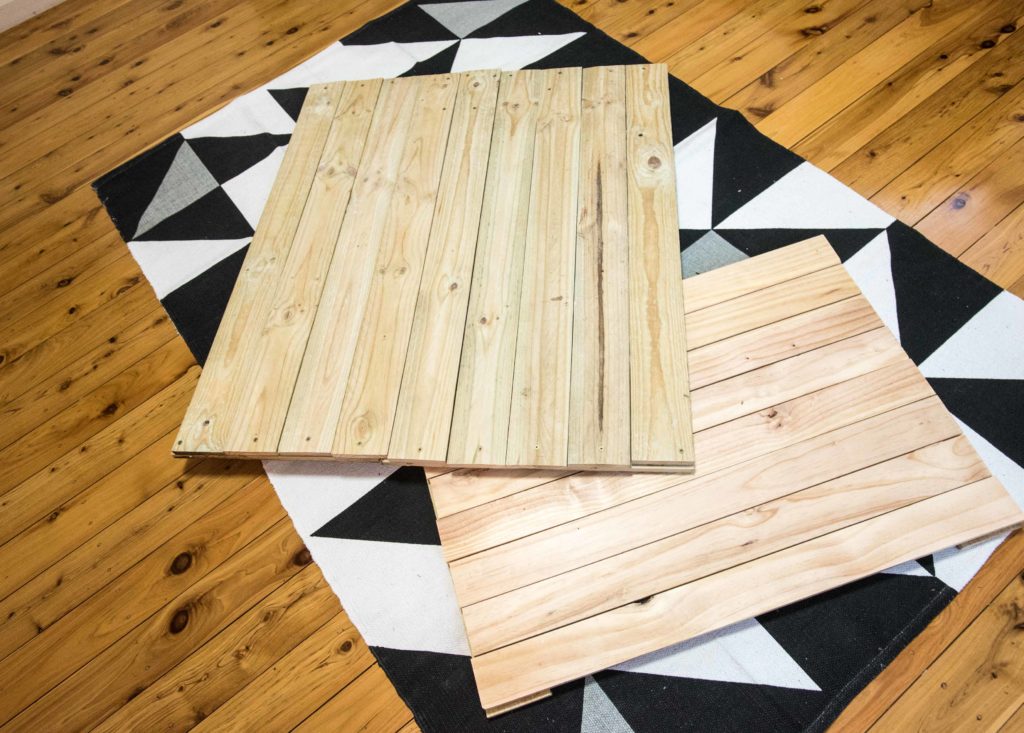
- Line up your timber pieces on the floor one next to the other the way you want them to look. Some will have slightly different color or imperfection so lining them earlier will help you decide the final look.

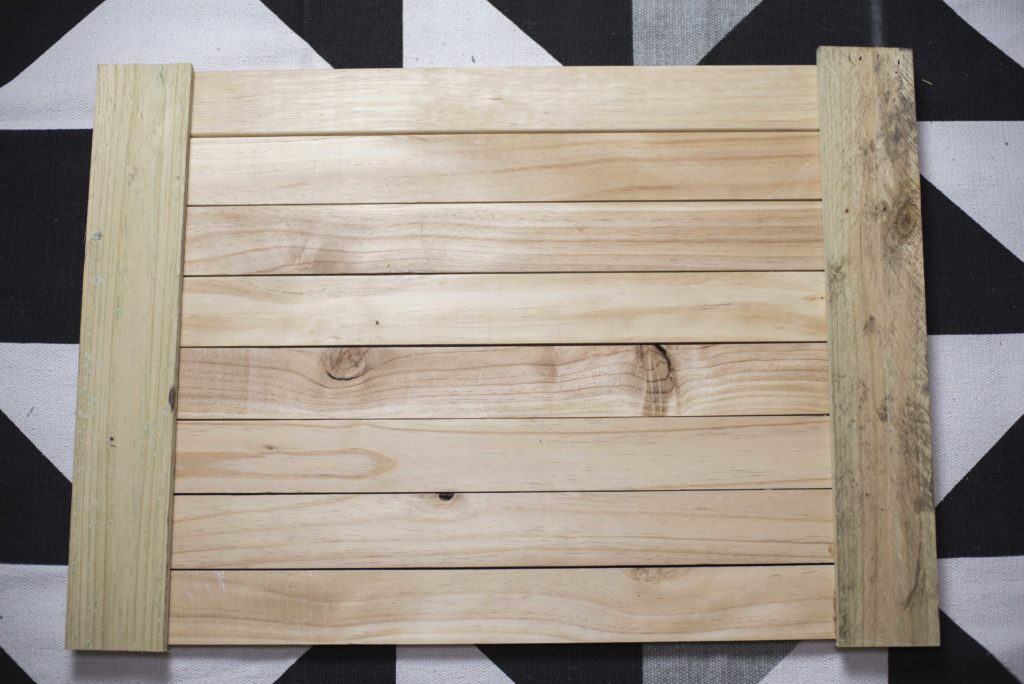
- Now, it is time to turn the pieces around. By leaving them on the floor, turn them on their back so you can glue them to the other piece of timber
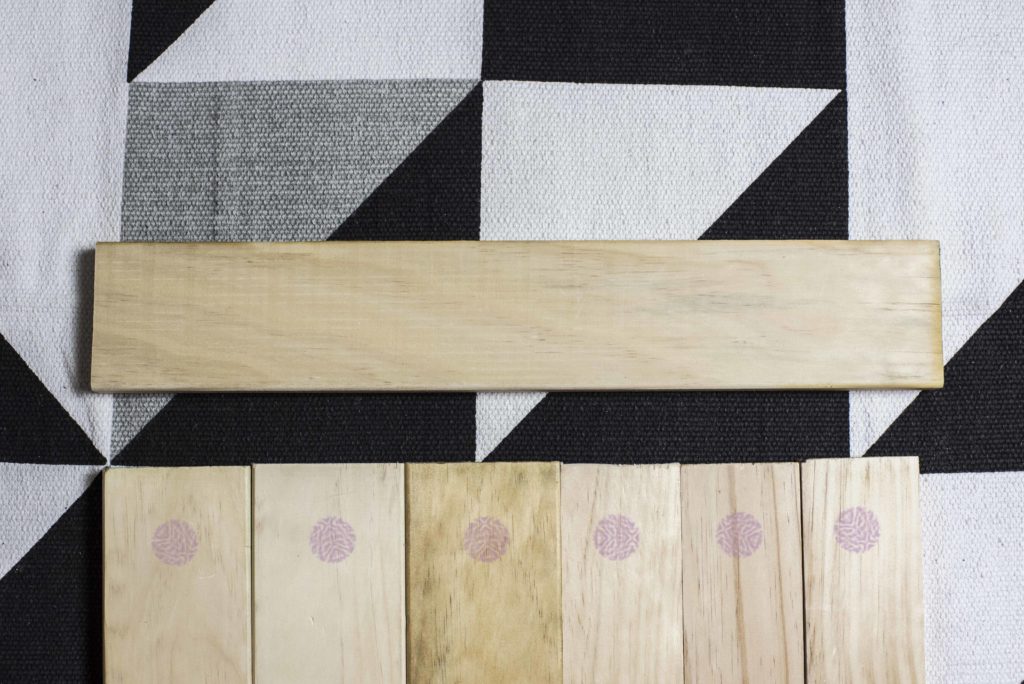
- Once they are all on their back, place the other 2 pieces of timber on each ends of the backdrop and see if the length covers all the pieces. Should look similar to the photo below.
- Now you are ready to pop your glue on it! Squeeze some liquid nails, about the size of a chestnut, onto the end of each timber piece as shown in the photo below. Make sure not to put the glue on the very end otherwise it will be squeezed out by the pressure!
- Now place your 2 pieces on both ends. Do not worry if they are not placed correctly, liquid nails takes a while to dry so you have enough time to adjust them.
- The glue needs to be left overnight or for at least 8-10 hours and because you want to make sure that your pieces stick to each other, place some heavy objects on the 2 timber pieces at the end.
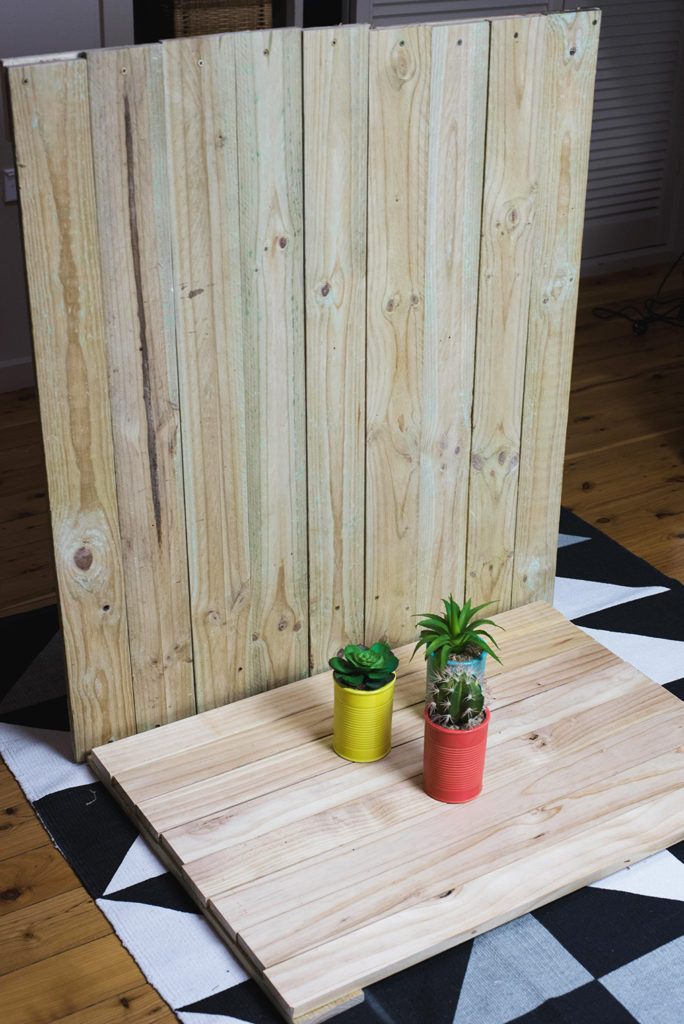
- After 8-10 hours you are ready to turn your backdrop and start shooting!
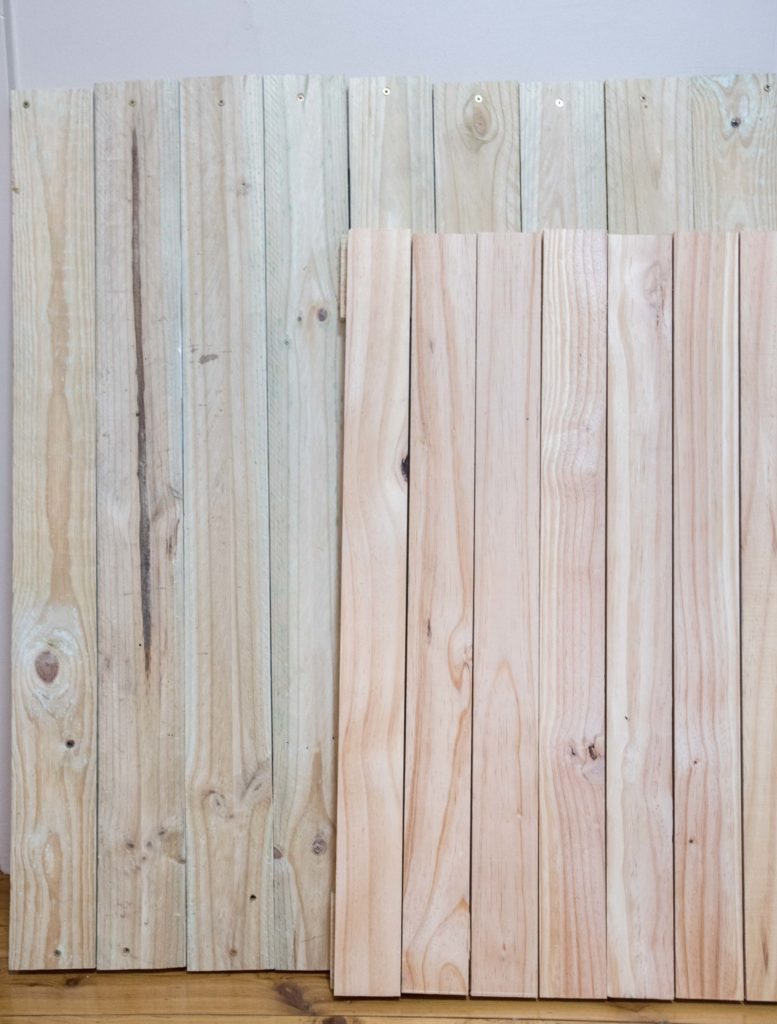
Tip #1: If you want to create a bitter backdrop or a second backdrop, you can use bigger pieces of timber.
Tip #2: for a quicker and more solid result, use a screwdriver and screw your pieces together. Screw the pieces where you would put Liquid Nails.